As winter approaches, you may be wondering how to winterize camper with air effectively. This may be accomplished in a number of ways, and it’s not as hard as you would think. I’ve done the winterization of my camper several times, and it really doesn’t take long at all.
You usually blast air through the water system to clean it. You may also flush the pipes with antifreeze to keep the water lines from freezing or bursting. Tubing is included in a bundle that you may buy, although it’s not necessary.
Think about safeguarding the car’s tires and charging your batteries on a regular basis. When winterizing a camper, the most important step is to cleanse the water system.
How to Winterize a Camper
You might not need the tire covers if you can store your Camper in a shed or other covered space. While it is certainly preferable, indoor storage is not always feasible. To finish the winterization procedure, the water heater tank and the freshwater pump must be drained.
When I initially tried doing this myself, I was a little anxious, but I was actually astonished at how easy it was. It should only take you 20 to 30 minutes if you prepare your camper for the task beforehand. It’s quicker than binge-watching a Netflix series. A list of some tools you might require for the task is provided below:
- Air compressor
- Anti-Freeze
- Valve and hose kit
- Water adaptor for air compressor hose
- Tire covers
- Water hose
Turning off your water heater the night before is a wonderful way to get ready for the chore. You will save a ton of time if you turn off the heating. You won’t have to wait for the water to cool before emptying it if you do this. The first stage in the winterization procedure will be to drain the water heater. To adequately winterize, this step is necessary. Don’t forget to empty and clean the black and gray water tanks.
Also Read: How Much is a Camper Van Conversion
Drain and Flush the Water Lines
It is not a good idea to just leave your camper’s water system running. By doing this, the water will freeze and may shatter or damage the water pipes. This will not only be expensive for you, but it will also need a significant amount of time and effort.
It’s possible that you forgot to empty the water heater or that you were unable to do so because you had to use it. In either case, you won’t have hot water until you switch off the water heater and run it until all the hot water cycles through.
For the water heater, you should have three valves: a cold valve, a hot valve, and a connecting valve. To open the valve that joins the hot and cold water heaters, you must first close the individual valves for each. You are prepared to proceed to the next stage after finishing this one.
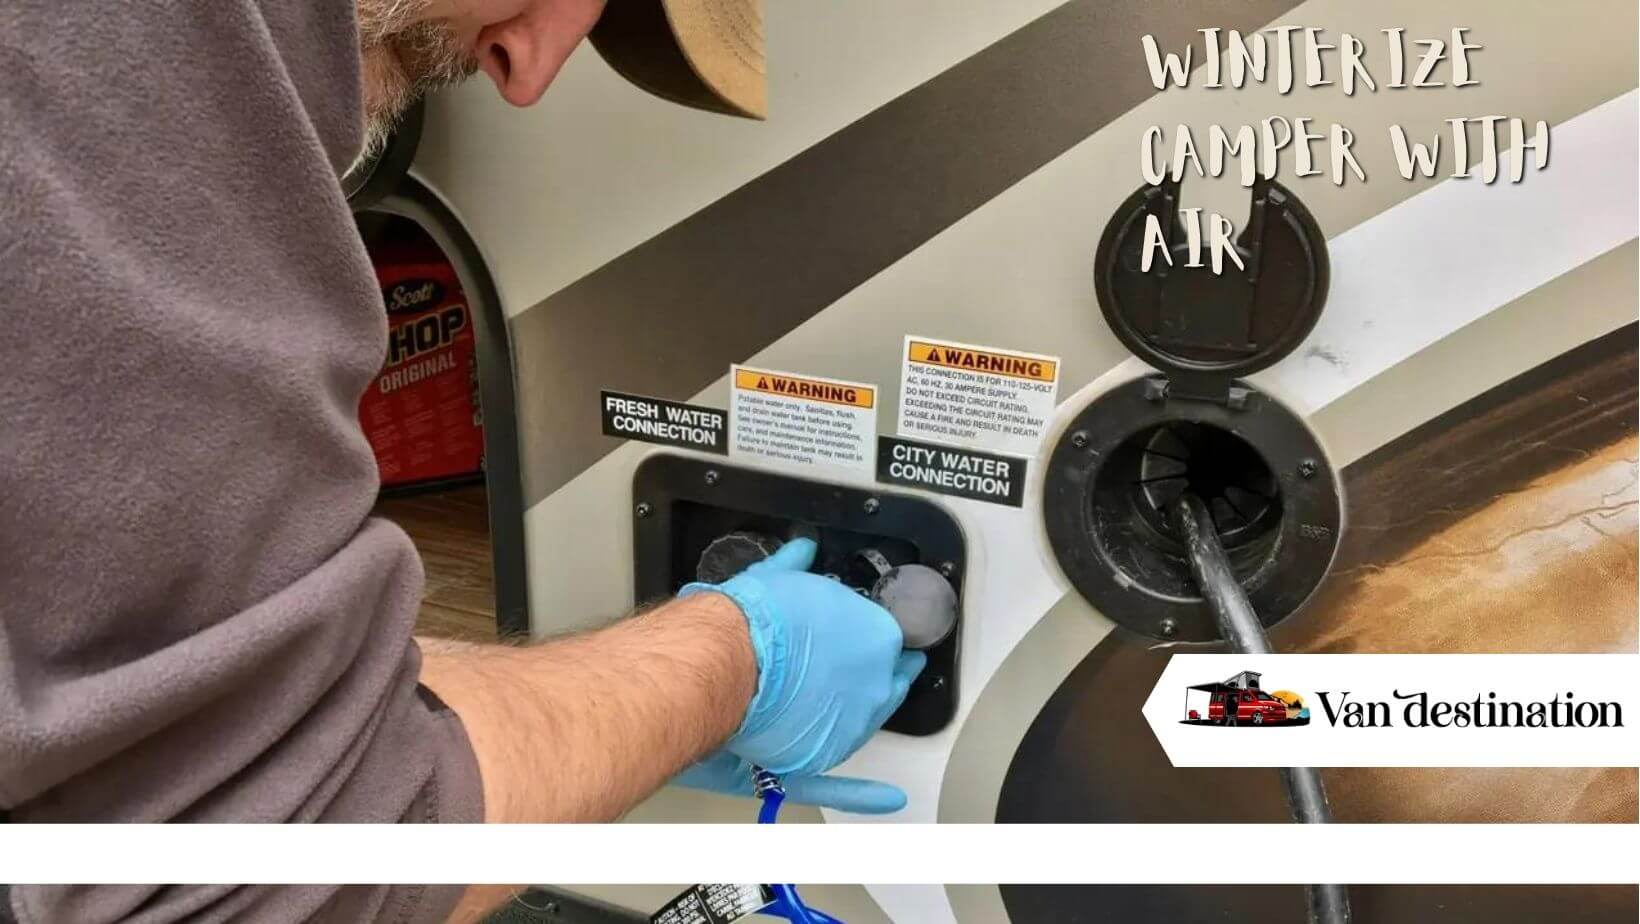
Using Compressor
We will begin with this procedure, assuming you have an air compressor, and then use a water hose to cleanse the system with anti-freeze. Avoid forcing air out of the compressor with too much force as this might damage your lines. An unskilled do-it-yourselfer may find using a compressor to clean the lines frightening, but as long as you take care to keep the PSI relatively low, you shouldn’t be concerned.
Generally, 35 to 40 PSI is sufficient to safely blast the water out of all of the camper lines. You may switch on the compressor and begin blowing air after you connect it to the water intake. Open the faucets on every fixture in the Camper, including the sinks, showers, and toilets, while the compressor is operating.
Flushing with Water
Don’t worry if you don’t have an air compressor, you may still complete the procedure using water. This time, in addition to water, we will be flushing the system with anti-freeze. Preparing for a water flush will include identical initial actions, if you own the package that includes the adapter, that’s fantastic. Again, don’t worry if not.
All you need for this operation is a hose, an antifreeze container, and tubing that has an adapter to connect to the water pump. It will be necessary for us to empty the hot water heater once again. Verify that the connection valve opens, the hot and cold shutoff valves are in the proper locations.
Protect the Camper Tires
Tyre protection is also very important. A few tire covers ought to do the work, but if you want, you may acquire some more protective gear. If it rains or snows a lot, the tire covers can come in handy. The covers need to prevent corrosion and aid in keeping the lugs from becoming trapped. Batteries and tires might not seem like much, but you don’t want your camper to sit with damaged tires.
Conclusion
As you can see, winterizing your camper is quick, simple, and doesn’t need much thought. Though this is just a matter of taste, I like to use the water pump to cleanse the system with anti-freeze. You are free to follow your own path. Winterizing your Camper mostly involves flushing your water system. All of this, of course, assumes that you reside somewhere where wintertime lows are below freezing.
Also Read: Camper Van Interior Kits of 2023